Friday, August 24, 2012

Making Fortune Tellers and Using Up Some Energy

I love paper crafts. They can be really simple, or complicated when you have the time, and can be wonderous for little kids. This one is super simple and easily fills 30 mins with fun and movement for the child. Fantastic.

My friends and I used to make fortune tellers (or chatterboxes or cootie catchers) at school all the time and somehow predicted wonderful things about the coming years. They are folded pieces of paper which can be moved in two directions. Numbers and colours provide choices and the ‘future’ is written under the hidden flap. This time, I put simple actions under the flaps and my son loved it.

This is how to make one:

Take a square piece of paper, fold it diagonally both ways and open again.


Fold the corners into the middle.


Turn it over and again fold the corners into the middle.


Turn it over again so that you are looking at squares and not triangles. Fold it across the middle. Open it. Fold it the other way across the middle. Open it.


Now, slide index finger and thumb of each hand under the squares and, using the folds you just made, pinch it together. Push index finger against index finger and thumb against thumb to make it move the other way.


I wrote numbers on the squares on top, coloured in the triangles on the other side and wrote actions under the flaps. My actions were simple things: jump five times, spin around, moo like a cow, touch your toes etc. Write things that you know your child will enjoy doing over and over.


This is how you play:

Ask your child to choose a number. Move the chatterbox that number of times. Choose a colour. Spell the colour and move the chatterbox with each letter. Choose another colour then look under that colour and do what it says.

The finished chatterbox can be packed in a bag for entertainment on the road. For a long trip you could make a few. I found a great site dedicated to chatterboxes with print outs which you just need to fold - great for a long drive. Have a look at this one for playing when flying.

Tuesday, July 31, 2012

Exploring Sound with Balloons


One thing guaranteed to fill half an hour with giggles for a three year old is a balloon. My son’s favourite thing to do at the moment is to (have me) blow a balloon up, hold it without a knot and then let it fly around the room. He loves trying to catch it, following every movement with his eyes, and he loves the sound it makes. Taking this cue, I decided to spend some time with him exploring all the different sounds a balloon can make.

The wonderful thing about sounds and balloons is the wide variety. There are loud and soft sounds which encourage both belly laughs and quiet patience. It is fun to try to imitate the sounds. This is great for developing speech and giving young children confidence in their voice.

After letting a full balloon fly around the room a few times, I needed a rest from blowing it up. So we made some sounds with a deflated balloon. We made it snap by stretching it and letting go of one side near the floor. Then we made it go "boing" very quietly as we stretched and loosened it quickly.

Stretching the Balloon

Once the balloon is blown up, listening to the air escape is hilarious. We heard the classic raspberry as it flew around the room and made a screech when we pulled the end open.


Screeeeeeeech! (My son took this picture - very proud) 

The full balloon makes a very satisfying "doof" and "boom" when hit on objects around the room. My son enjoyed hitting things he usually can’t, including my head! It was very satisfying for him. Scraping a finger over the surface of the balloon gave an odd scraping noise. He called it "binga-binga"!


Making More Noise on the Balloon


Copying the sounds was fun - slow at first but he soon got the hang of it. Maybe he’ll be more inclined to make an effort when his little brother is giving some noise competition!

I’m sure there are more sounds to be made with balloons. I’d love to read about them in the comments, let me know what you hear.

Balloon on Balcony

Tuesday, July 24, 2012

Making Cork Boats with Colourful Shape Sails

A friend gave me a big bag of corks. The most obvious thing to do was play around in a big tub of water. We watched them float. We laughed at them pop up through the surface when we pushed them under. We blew them over the surface and had cork boat races.

Then we talked about how they looked like little boats and how we could make them look more like boats. "Let's make some sails" was the joyous suggestion.

So we chose six shapes.


Colourful Shapes

We picked six corks and found some cocktail sticks.


Corks and Cocktail Sticks

And we watched them float, tip and capsize.

Circle Sail on Cork Boat

Triangle Sail on Cork Boat

Heart Sail on Cork Boat

Then we made a giant sail which, to my surprise, worked!


Huge Pink Sail

And then the corks were under attack!

Trying to Cut a Cork with Plastic Scissors
 

Thursday, July 19, 2012

Painting on Paper Towels and an Opportunity for Mama to Practice Allowing the Toddler to Create his Own Art!

I love using different materials for painting. Kitchen paper towels are great for mixing colours and watching it spread over the patterns. So one lovely warm afternoon, I thought it would be fun to paint on the balcony. We headed out with kitchen roll, watered down paint, some brushes and a few other items to play with. I was looking forward to watching some abstract art develop, but the art was not what I had expected.

Our Equipment

Paint Mixed with Water
For a change of angle, I hung the paper squares from a piece of string tied between two chairs. Glass jars held the paint and we had extra pots around for mixing. 

Hanging Paper Towels

I was pleased with the arrangement and looking forward to seeing what B would do and the art he would produce.

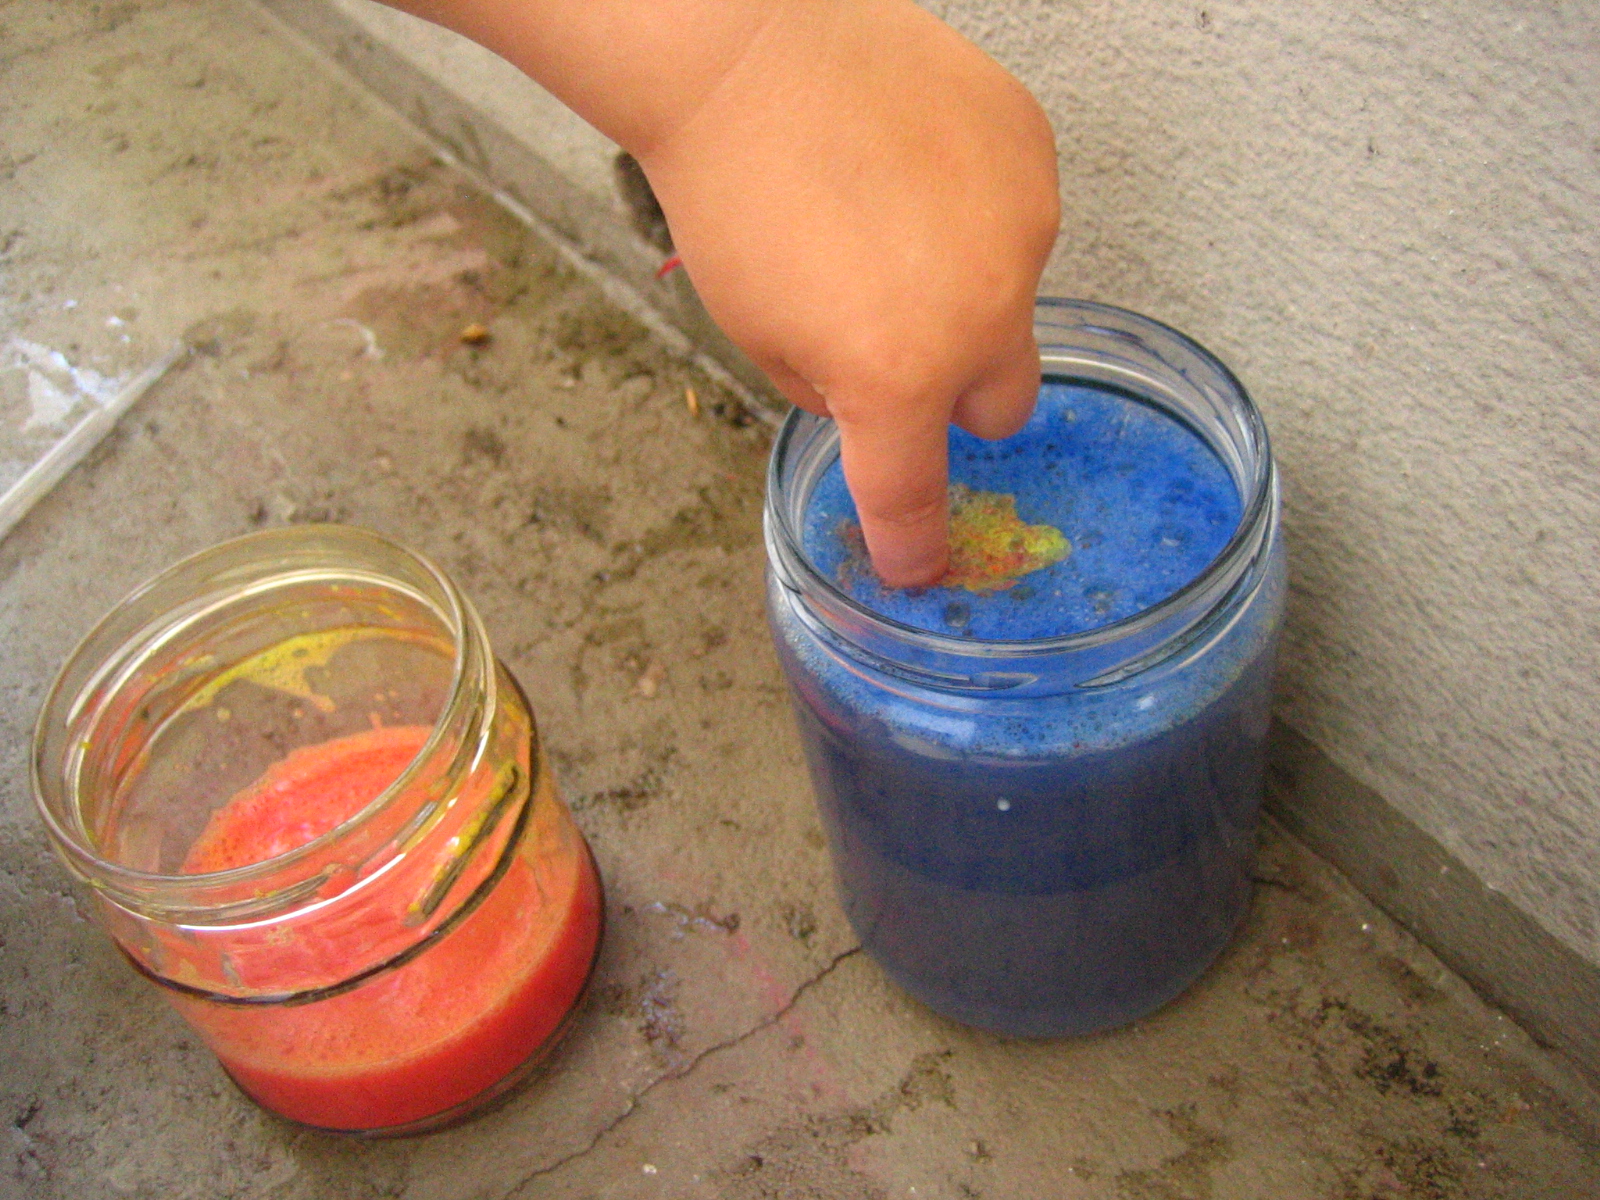
He loved the colours in glass pots and having more pots to pour into. I had also put a large bucket of water outside so he made more and more and more (mess!).


Pouring

Poking

Splashing

He went on and on and on. Pouring, splashing, mixing all the paints into different tubs. But what about the paper? My wonderful hanging arrangement was being ignored! I really wanted him to try splashing the paint onto the paper, or flicking it, or dripping it, anything.


More mixing

More colours
However, he was having so much fun, I didn’t want to interrupt him. I hate to break his concentration.

Concentrating on pouring carefully

After a while I splashed a little paint on the paper myself. "Look at this," I said. He said, “hmm” and carried on with what he was doing. So I left him to it. The cars got involved as usual. And everything ended up in the bucket at some point. 

Paper Towels Empty of Art
Mixed Colours on the Floor
So even though it wasn’t the painting activity I had envisioned, he enjoyed a long afternoon playing with water and created some interesting patterns on the floor. I was disappointed that he didn't share my enthusiasm about the hanging paper, but he did:
  • Mix colours over and over to discover more colours
  • Pour liquid carefully, and sometimes not so carefully, into different pots
  • Step over and around things as he moved around the area
  • Explore the fundamentals of volume as he tipped paint from one pot to another